How to Set Up a Dual Monitor Desktop System
- Setting up a dual monitor system can significantly enhance productivity.
- Follow a step-by-step approach to ensure proper connection and configuration.
- Understand the software settings needed for optimal performance.
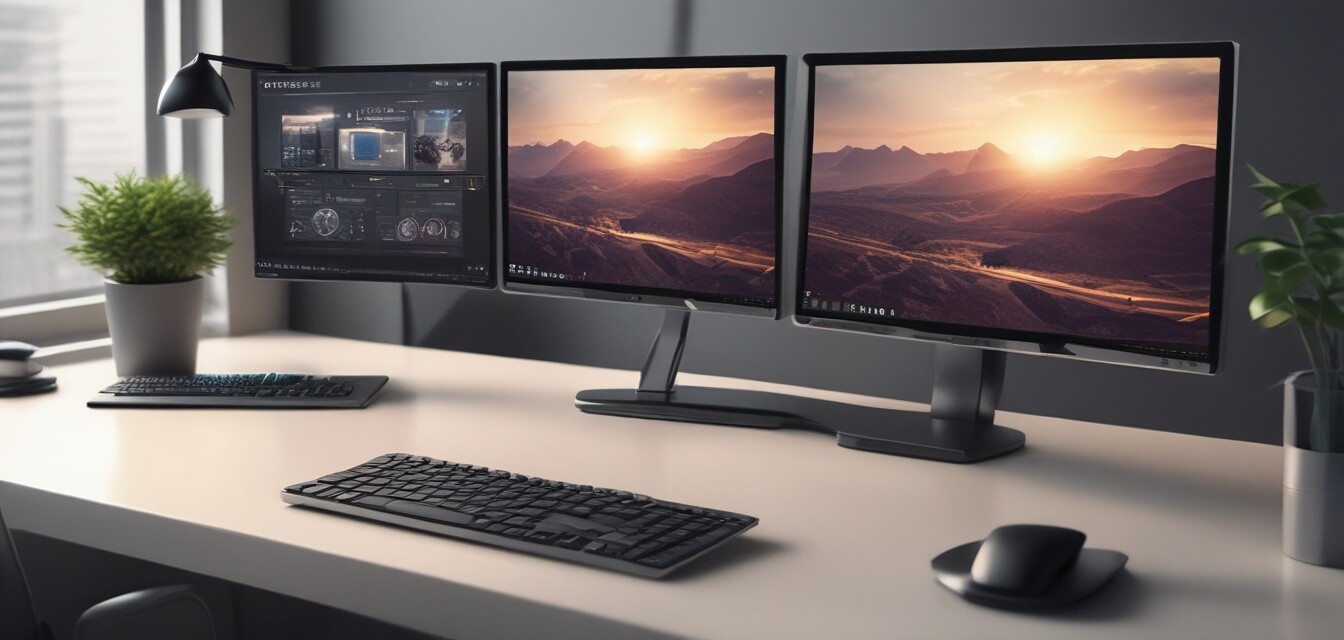
In today's fast-paced digital world, having multiple screens at your disposal is more than just a luxury—it's a necessity for many professionals. A dual monitor setup can streamline your workflow, allowing you to multitask more efficiently. This article will guide you through the process of setting up a dual monitor desktop system, ensuring you're equipped to optimize your workspace effectively.
Benefits of a Dual Monitor Setup
Before we dive into the setup process, let's explore some of the main advantages of using dual monitors:
- Increased Screen Real Estate: More screen space allows you to view multiple applications side by side.
- Enhanced Productivity: Studies suggest that having two monitors can lead to a noticeable increase in productivity.
- Better Organization: Keeping different tasks or projects on separate screens can help maintain focus and organization.
What You Need for a Dual Monitor Setup
Here’s a quick checklist of the items necessary for setting up your dual monitors:
- Two monitors with appropriate display outputs
- Compatible cables (HDMI, DisplayPort, VGA, etc.)
- Graphics card capable of supporting dual monitors (if applicable)
- Sturdy desk or workspace to accommodate the monitors
Step-by-Step Setup Process
Step 1: Connecting the Monitors
Begin by turning off your computer and unplugging it from the power source. This ensures a safe connection process. Use the following table to help identify your monitor connections:
| Monitor Type | Common Connection Types |
|---|---|
| HDMI Monitors | HDMI |
| DisplayPort Monitors | DisplayPort |
| VGA Monitors | VGA |
Connect one monitor to your PC's graphics card using the appropriate cable. Repeat the process for the second monitor. Once connected, power on both monitors.
Step 2: Configuring Display Settings
After connecting your monitors, you'll need to configure the display settings:
- Right-click on your desktop and select Display settings.
- In the display settings window, you should see both monitors represented as rectangles. Click on Identify to see which number corresponds to each monitor.
- Use the dropdown menu under Multiple displays to choose how you want your screens to function (e.g., duplicate, extend).
- If you want to extend your desktop, select Extend these displays.
- Adjust the resolution and orientation for each monitor according to your preference.
- Click Apply to save the changes.
Step 3: Arranging Monitors Physically
Arrange your monitors in a way that suits your work habits. Popular arrangements include:
- Side by side
- One above the other (if your stand permits)
Ensure that your eye level is aligned with the top of the monitors to reduce neck strain.
Software Configuration
Once you have set up the physical arrangement, it's time to enhance your software experience:
- Organize your taskbar to show open applications on all displays.
- Use productivity tools like DisplayFusion or UltraMon to customize your multi-monitor experience.
Troubleshooting Common Issues
If you encounter problems during the setup, consider these common troubleshooting steps:
- If one monitor isn't displaying, check the cable connections and ensure the monitor is powered on.
- Restart your PC after making changes in the display settings.
- Update your graphics card drivers through the manufacturer's website.
Conclusion
A dual monitor setup can vastly improve your productivity and make multitasking a breeze. With the right equipment and a straightforward setup process, you can create a more efficient workspace. For more tips on optimizing your computing experience, be sure to check our other resources in our Expert Tips category.
Key Takeaways
- Dual monitors can significantly enhance your productivity.
- Follow the step-by-step guide to ensure a smooth setup process.
- Don't forget to customize your software settings for better efficiency.